The method of applying cold laminating film is a sensitive task that demands a lot of caution on the pressure and handling of the polymers. I have observed numerous printing houses and label converters with 15 years experience in the self-adhesive industry use it badly. Grasp the application squeegee and respect the substrate the panic over the possibility of a wrinkle is quite tangible. All the dust should be removed on your workspace, as microscopic dust can cause silvering artifacts. Use the film starting at the center and spreading towards the outside to ensure that the viscoelastic bond is made without heat.
What is the process of cold lamination?
The essence of the pressure-sensitization is easy and rewarding. My 15 years of experience at VIZLENT has been in the design of adhesives which are based only on mechanical force, without resorting to the heat complications. This is particularly applicable to wholesale partners and B2B label converters who deal with delicate synthetics substrates.
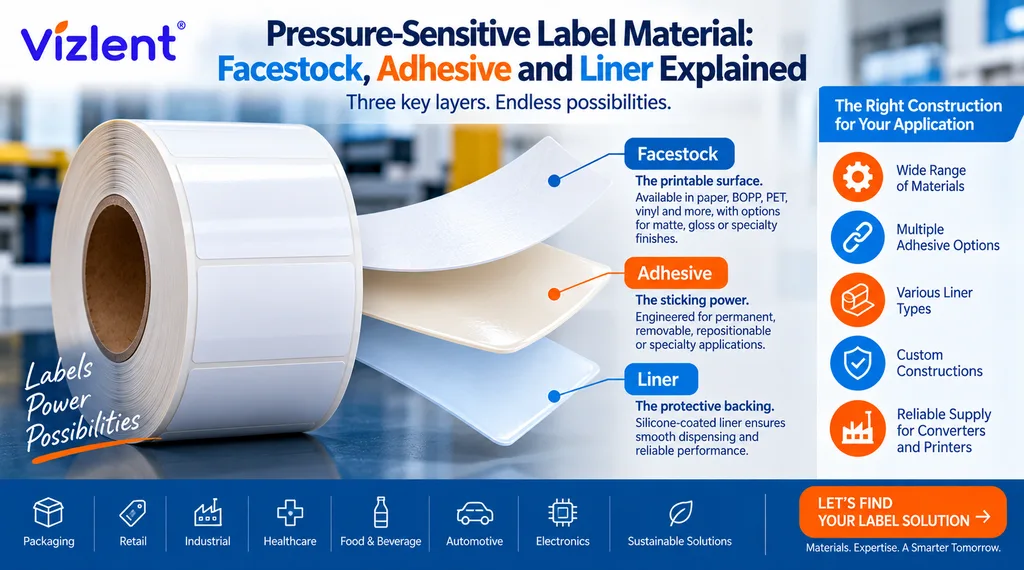
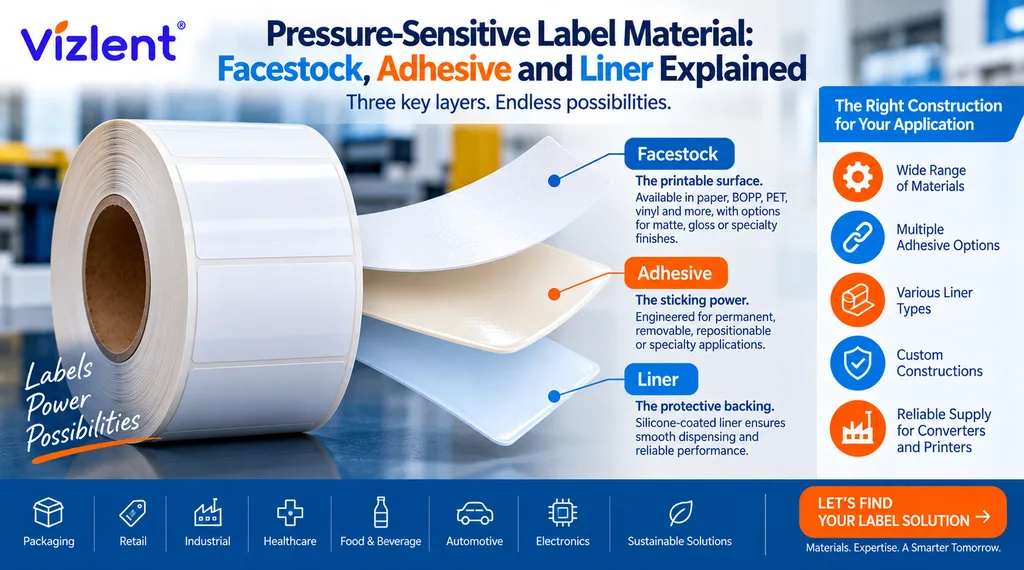
The substrate and the clear overlaminate are fed in large, heavy-duty nip rollers which exert a high level of tension. Through the silicone release liner, the film is allowed to pass through the rollers and forms a clean and instant bond. The acrylic paste spreads all over the print immediately creating a long lasting, optical quality seal that does not melt. The ability to laminate cold and avoid the possibility of the warping due to heating brings enormous relief. It is, undoubtedly, the safest choice of the high-quality outdoor graphics.
How to cold laminate without bubbles?
I am always bothered by bubbles or silvering. Having 15 years of experience in assessing self-adhesive materials at VIZLENT, I am an eyewitness of the haste with which wholesale converters pass this sensitive stage.
To avoid bubbles, never rush. Your main tool will be a dense rubber squeegee. Grasp the squeegee and scrape the adhesive outward towards the center to the edges in one smooth motion. Any hesitation can trap air. Have a steady tension throughout. It pains to see a bunch of nice decals destroyed by bubbles; it is imperative to make sure that the leading edge is in place and then to press down.
When to use hot or cold laminating?
It is significant to choose between thermal and pressure-sensitive films. Hot lamination may destroy fragile synthetic substrates, only porous paper can tolerate the heat. It is not a good idea to apply hot rollers on high-quality vinyl decals.
Having 15 years experience at VIZLENT, I would recommend printing houses and label converters to use cold laminating films on any heat sensitive material. Mechanical pressure prevents excessive temperatures and thus inks do not change and the finish is always clean. Basic products such as restaurant menus may require thermally bonded, so that rigidity is required, but I am most pleased when a cold film provides a smooth, clear finish.
How to use cold laminating film without machine?
Even 15 years of experience can be a frightening experience with manual lamination. Application of a pressure-sensitive film using a hand tool takes a lot of force and smooth hands to safeguard costly synthetic substrates. Beginning with the top edge, pull slowly the silicone release liner; otherwise, you risk catching dust. Apply firm, even pressure. When the film flows easily, it means that you have removed the air trapped and attained an impeccable bond. Hand application comes in handy when there is a machine hitch, but cleanliness is essential, any dust or dirt will leave a sham surface. Before placing the film, the substrate should be dust-free.
How to do cold lamination at home?
Begin with a substrate and a transparent film. Scrape approximately 1 inch of the release liner to expose adhesive, be specific. Make sure that the top edge is aligned and squeegee it. Pressing the center outward to avoid bubbles is important to prevent air pockets as they spoil the appearance. Gradually draw the backing back and sweep the squeegee across. Maintain tension; never hurry, or you get wrinkles. Do step by step and make changes accordingly. In case of misalignment, pick and re-smooth laminate. It is satisfying to feel the print being transformed into a strong durable coating.