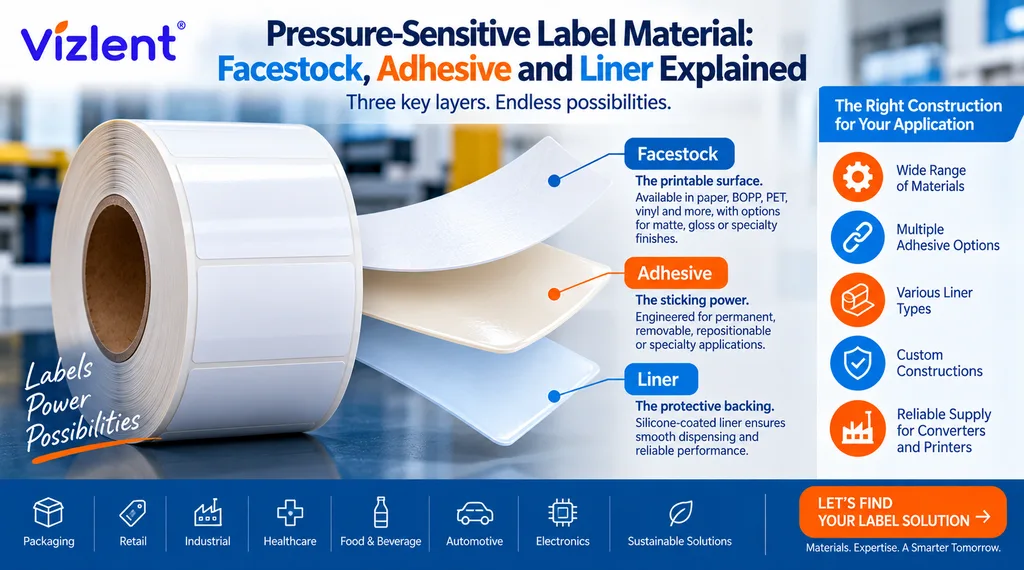
To master how to use self adhesive laminating sheets, you must peel back the edge of the protective liner, align your document precisely against the sticky grid, and slowly smooth the film down using a firm squeegee to eliminate any trapped oxygen. It’s honestly a total thrill to see that immediate, crystal-clear bond form without any heat! I feel such a surge of satisfaction when the substrate is fully encased. You should always work in a dust-free zone to avoid those hideous little bumps. This cold-laminate method is a real game changer for heat-sensitive thermal papers or delicate inks. It’s quite straightforward once you nail the initial alignment.
Can you print on self-adhesive laminating sheets?
Actually, attempting to print directly onto self-adhesive laminating sheets is a recipe for a total mechanical catastrophe, and I cannot stress enough how much this idea frustrates my professional sensibilities! The top surface of these films is usually a high-energy polyester or polypropylene designed for optical clarity and tactile protection, not for ink receptivity. If you try to run them through an inkjet, the ink will simply bead up and slide off like water on a freshly waxed car… a truly hideous mess!
In a laser printer, the intense heat of the fuser can actually melt the pressure-sensitive adhesive layer, potentially gunking up your rollers permanently. I feel a surge of anxiety just thinking about the potential repair costs. The chemical architecture of these laminates is intended to be the final protective shield, applied only after your document has already been printed on a standard substrate. Stick to using them as a top-coat, and you’ll avoid a very expensive headache. It’s all about respecting the material’s intended function within the laminate stack.
How to use laminating sheets for stickers?
To armor your stickers against the abrasive world, you must utilize these cold-process films to create a formidable barrier. I feel a profound sense of satisfaction when a flimsy paper decal suddenly gains the structural rigidity of an industrial nameplate!
First, ensure your printed sheet is bone-dry… if you trap residual solvents or moisture under the plastic, you’ll end up with a hazy, silvering effect that is just heart-breaking. Peel back only a tiny sliver of the liner to expose the adhesive and anchor it to the top of your sticker sheet. Slowly roll the laminate down while using a felt-edged squeegee to banish any air pockets. The goal is to achieve a pristine, bubble-free interface that enhances the visual depth of your graphics. It is truly a technical triumph when the two layers merge into a single, high-performance composite!
Once the lamination is complete, you can proceed to die-cut your shapes without worrying about ink scuffing or moisture ingress. This extra step is a total game changer for longevity.
How to use laminating sheets without a machine?
Mastering the art of manual encapsulation without a mechanical laminator is a feat of pure tactile finesse that I find deeply rewarding. I always feel a bit like a craftsman when I successfully vanish every last air buble using nothing but a squeegee and steady nerves!
You must first peel back a meager sliver of the backing paper to expose the initial adhesive strip. Carefully anchor this to your workspace or the document’s edge to establish a pivot point. As you slowly withdraw the liner, use your other hand to apply firm, overlapping strokes with a flat edge, driving the air forward. It is quite a tragedy when someone rushes this and traps a pocket of oxygen… that silvering effect is a total eyesore!
This cold-lamination technique relies on the pressure-sensitive nature of the polymer bond, so don’t be shy with the force. Ensuring the substrate remains taut is the secret to a professional, glass-like finish. It is truly a marvelous work-around for those who lack industrial equipment but still crave that high-gloss protection.
Why is my self-adhesive laminate not sticking?
When your self-adhesive laminate refuses to bond, it’s usually a failure of surface energy or a contamination crisis that makes me feel utterly crestfallen for the project. The most frequent culprit is a microscopic layer of oil or dust on the substrate… even a stray fingerprint can sabotage the chemical bond! I get quite frustrated when people overlook the “dwell time”; these pressure-sensitive adhesives often require twenty-four hours to reach their maximum peel strength. If the enviroment is too cold, the adhesive becomes glassy and loses its “tack,” failing to wet out across the surface properly.
Furthermore, if you’re trying to laminate over certain silicone-coated papers or “low energy” plastics like polypropylene without a primer, the film will simply lift off. It’s a total nightmare for durability! Ensure you apply vigorous pressure with a squeegee to force the adhesive into the microscopic valleys of the material. Without that mechanical encouragement, the bond remains superficial and weak. Honestly, checking your surface tension first is the only way to avoid this sticky disappointment.